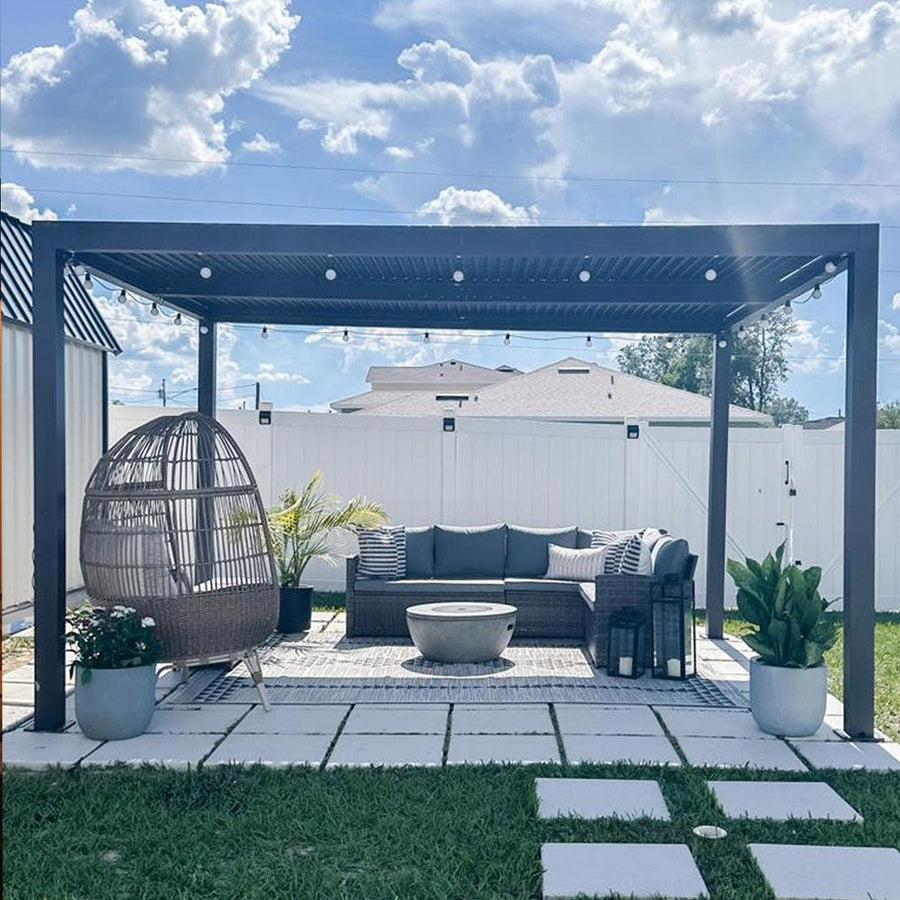
Are you considering enhancing your outdoor space with a louvered pergola? This diy louvered pergola installation guide will provide you with all the necessary tools and materials, along with detailed steps to ensure a successful installation. A louvered pergola not only adds aesthetic appeal but also offers adjustable shade and protection from the elements.
Understanding the Basics of Louvered Pergolas
A louvered pergola features adjustable slats that allow you to control the amount of sunlight and rain that enters your outdoor area. This flexibility makes it a popular choice for homeowners looking to maximize their outdoor enjoyment. But what exactly do you need to get started with your diy louvered pergola installation guide? Let’s break it down.
Essential Tools for Your DIY Project
- Measuring tape
- Level
- Drill and drill bits
- Saw (circular or miter saw)
- Wrench set
- Safety goggles
- Work gloves
Having the right tools is crucial for a smooth installation process. Each tool serves a specific purpose, ensuring that your pergola is both sturdy and visually appealing.
Materials Needed for a Louvered Pergola
In addition to tools, you will need various materials. Here’s a list of what you should gather:
- Wood or aluminum for the frame
- Louvered slats
- Post anchors
- Wood screws or bolts
- Paint or sealant (optional)
Choosing high-quality materials will not only enhance the durability of your pergola but also improve its overall appearance. For a wide selection of louvered pergola materials, visit  .
.
Step-by-Step Installation Process
Now that you have your tools and materials ready, let’s dive into the installation process. This diy louvered pergola installation guide will walk you through each step:
- Choose the Location: Select a flat area in your yard that receives adequate sunlight.
- Measure and Mark: Use your measuring tape to outline the dimensions of your pergola.
- Install the Posts: Dig holes for the posts and secure them with post anchors.
- Attach the Beams: Connect the beams to the posts, ensuring they are level.
- Install the Louvers: Attach the louvered slats according to the manufacturer’s instructions.
- Finishing Touches: Apply paint or sealant if desired, and ensure everything is secure.
Final Thoughts on Your DIY Louvered Pergola Installation
Completing a louvered pergola installation can be a rewarding project that enhances your outdoor living space. By following this diy louvered pergola installation guide, you can create a functional and stylish area to enjoy for years to come. Remember, the key to success lies in preparation and attention to detail. Happy building!